1 User
IDR 100.000 /month
- Encryption RSA 2048
- TLS · 256-bit
- Data server storage billed separately
- Per-machine certificate
- Own server or data server

Xdata Connect puts your PC, laptop, server, iPad, iPhone, tablet, and workstation into one virtual environment. You work on local data even when you are around the world — the system cuts off boundaries so it feels like you never left the office. Each machine is installed with its own certificate and then connected, so you stay safer.
IDR 100.000 /month
IDR 1.000.000 /month
IDR 100.000 /month
+ IDR 5.000.000 /month
Yearly billing = monthly × 12. User accounts and machine packages are both required. Data-server storage is optional.
Pair Xdata Connect with the encrypted vault drive (XCSM vault). The drive stays isolated. Only machines you approve, with user credentials, can open it — and you can split it, name every machine, and cut a compromised PC off the grid.

The drive sits isolated and encrypted inside XCSM vault technology. It cannot be reached from anywhere outside Xdata Connect. Only a user with credentials can open the vault.
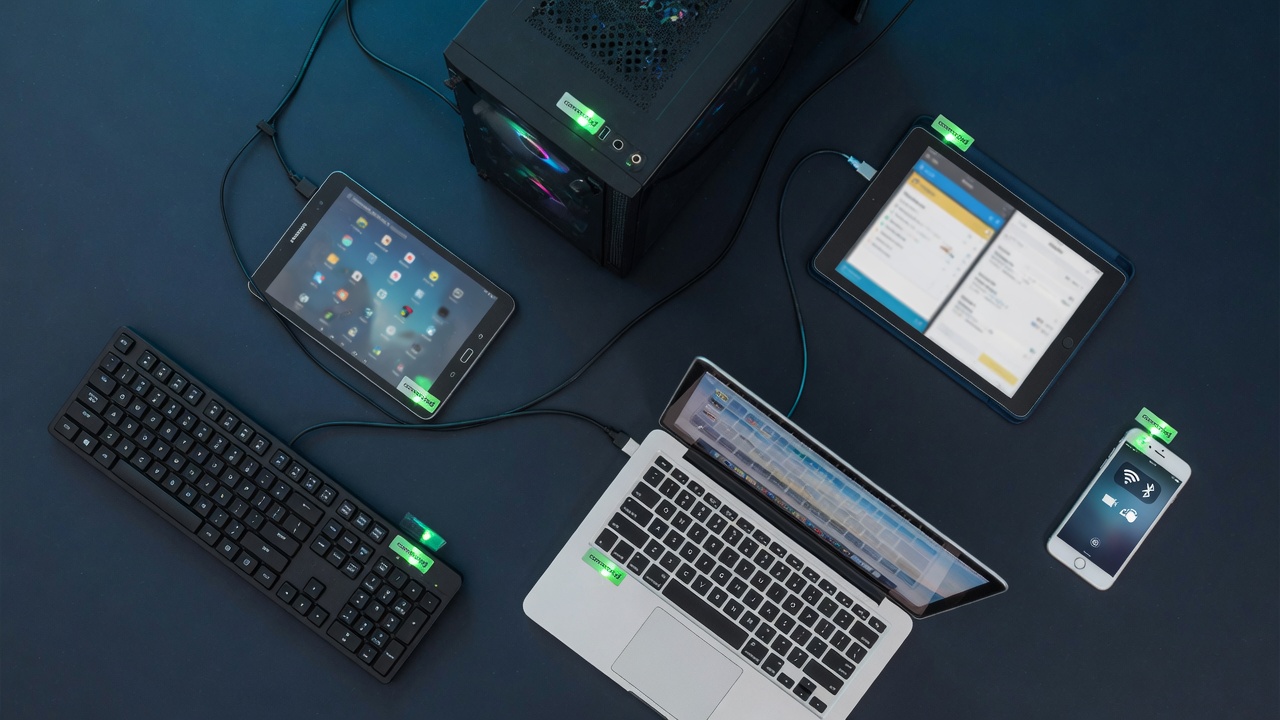
When a machine asks to join, you see it on the dashboard and Approve or Reject. With hundreds of machines, give each one a unique name so you always know which PC, laptop, or phone is using Xdata Connect.

If you suspect one machine is compromised, sign in to XCSM / Xdata Connect and revoke that machine. Access stops at once. It is off the grid and cannot open the vault.

Xdata Connect uses an encrypted pipeline between the vault and each machine. The connection can stay on 24 hours. If you want, you set hours and days — for example working days only — and turn the connection off for all users on weekends or days off to tighten security.
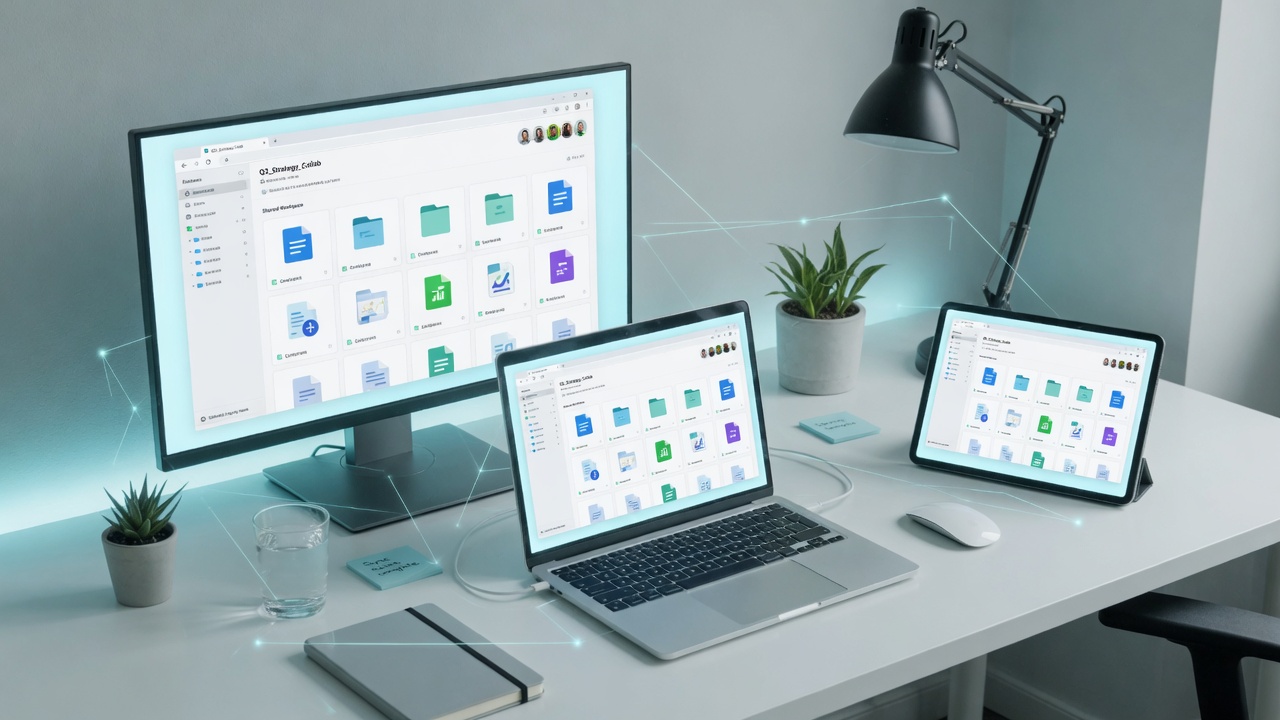
Split the main vault drive into as many sub-drives as you need. Each sub-drive has a drive letter so an application can map it (accounting, HRIS, employee programs). Assign each user to selected sub-drives: a user on drive A cannot open B or C. A super user can open the whole set. Admin sets the rule. The vault becomes a secure isolated database you can reach from anywhere, without fear of open access, and you can keep it active only on certain days and hours.

Admin opens Activity log on the Xdata Connect dashboard and sees every vault action: when they signed in, from which IP, which sub-folder, and whether they added, copied, modified, or deleted a file — with the file name and timestamp. Mapping the drive with credentials (then opening an accounting or HRIS program) is logged the same way. Use this trail to manage employee KPI on vault work.
If a user deletes a file in the vault (from Explorer or a program), it is not gone. It moves to Recycle bin on the Xdata Connect dashboard for 365 days. Storage does not shrink until an admin deletes it permanently, or the system removes it after one year. Admin can recover the file back into the vault, or delete selected files / all files forever. Recycle files cannot be opened on the dashboard — only recovered or destroyed.

The vault drive is located in a server data centre in Jakarta — a Tier IV facility with a 10 Gbps connection. You connect it the same way you connect an external hard drive: it feels local, with no lag — just a fast line to your files.

Use XDATA Vault browser if you do not want to connect with the XDATA Connect app — subscribe to XDATA Vault encrypt only — or if you already use XDATA Connect on your PC but sometimes you did not bring your PC and want to open the vault in a browser.

The Xdata Connect vault in the browser is integrated with AI. You can use it to help you create and manage documents. The administrator can enable or disable the AI feature. If the administrator turns the AI feature off, users cannot access AI and AI will not manage your files.
Xdata Connect using XCSM technology AI to encrypt the line between machines to make sure there is no breach or data loss in transmission — for people and machines that need to sit on one private network, wherever they physically are.
Connect joins your machines into a single virtual office. Files, printers, and internal tools look local — not like a pile of separate internet logins. You use your own server or Xdata data-server storage plans from the client portal.
Bring the devices you already use: desktop PC, laptop, server, iPad, iPhone, tablet, workstation. They join the same virtual environment so a file on the office PC is reachable from the phone or the field laptop.
Distance stops being the office wall. Open folders and systems as if you were at your desk in Jakarta while you sit in another city or country. Connect cuts off those boundaries so the team works like one office.
Every device is installed with its own certificate, then connected. Only machines you enrolled can enter the virtual environment. That is safer than a shared password on an open remote login — a lost phone can be cut off without opening the whole office.
Traffic stays inside the certified Connect path. You do not publish file shares to the raw internet. Combined with Xdata login roles, only people and machines you approve see the virtual office.
Register, choose Xdata Connect, add a network admin and users, then connect. It sits next to Cloud, Mail, and XCSM in client.xdata.id — one Xdata Client Service Management experience.
Register, choose Xdata Connect, create a network, then install the app on each PC, laptop, phone, and server. Connecting always needs the Network ID.
Windows 10 and 11 (64-bit)
Download XDATA-Connect.msi. Double-click it and allow Windows to finish. Paste your Network ID from the dashboard. The owner must Approve the PC before it can use the VPN. Later versions install from the app.
Download for WindowsIntel and Apple silicon
Download XDATA-Connect.dmg. Open it, then open XDATA Connect and allow it into Applications. Paste your Network ID from the dashboard. Later versions install from the app.
Download for MacPhone and tablet
Allow install from this site, open XDATA Connect, paste the 16-digit Network ID, then wait until the service is active.
Android APKDebian, Ubuntu, Fedora, and most servers
Run as root, then join your Network ID:
curl -fsSL https://www.xdata.id/downloads/xdata-connect/xdata-connect-linux.sh | sudo bash
xdata-connect join YOUR_NETWORK_ID
Linux installer
iOS / iPadOS — Safari, no App Store
On the iPhone, open the install page in Safari and tap Install. Then open XDATA Connect and paste the Network ID from your dashboard.
Install on iPhone